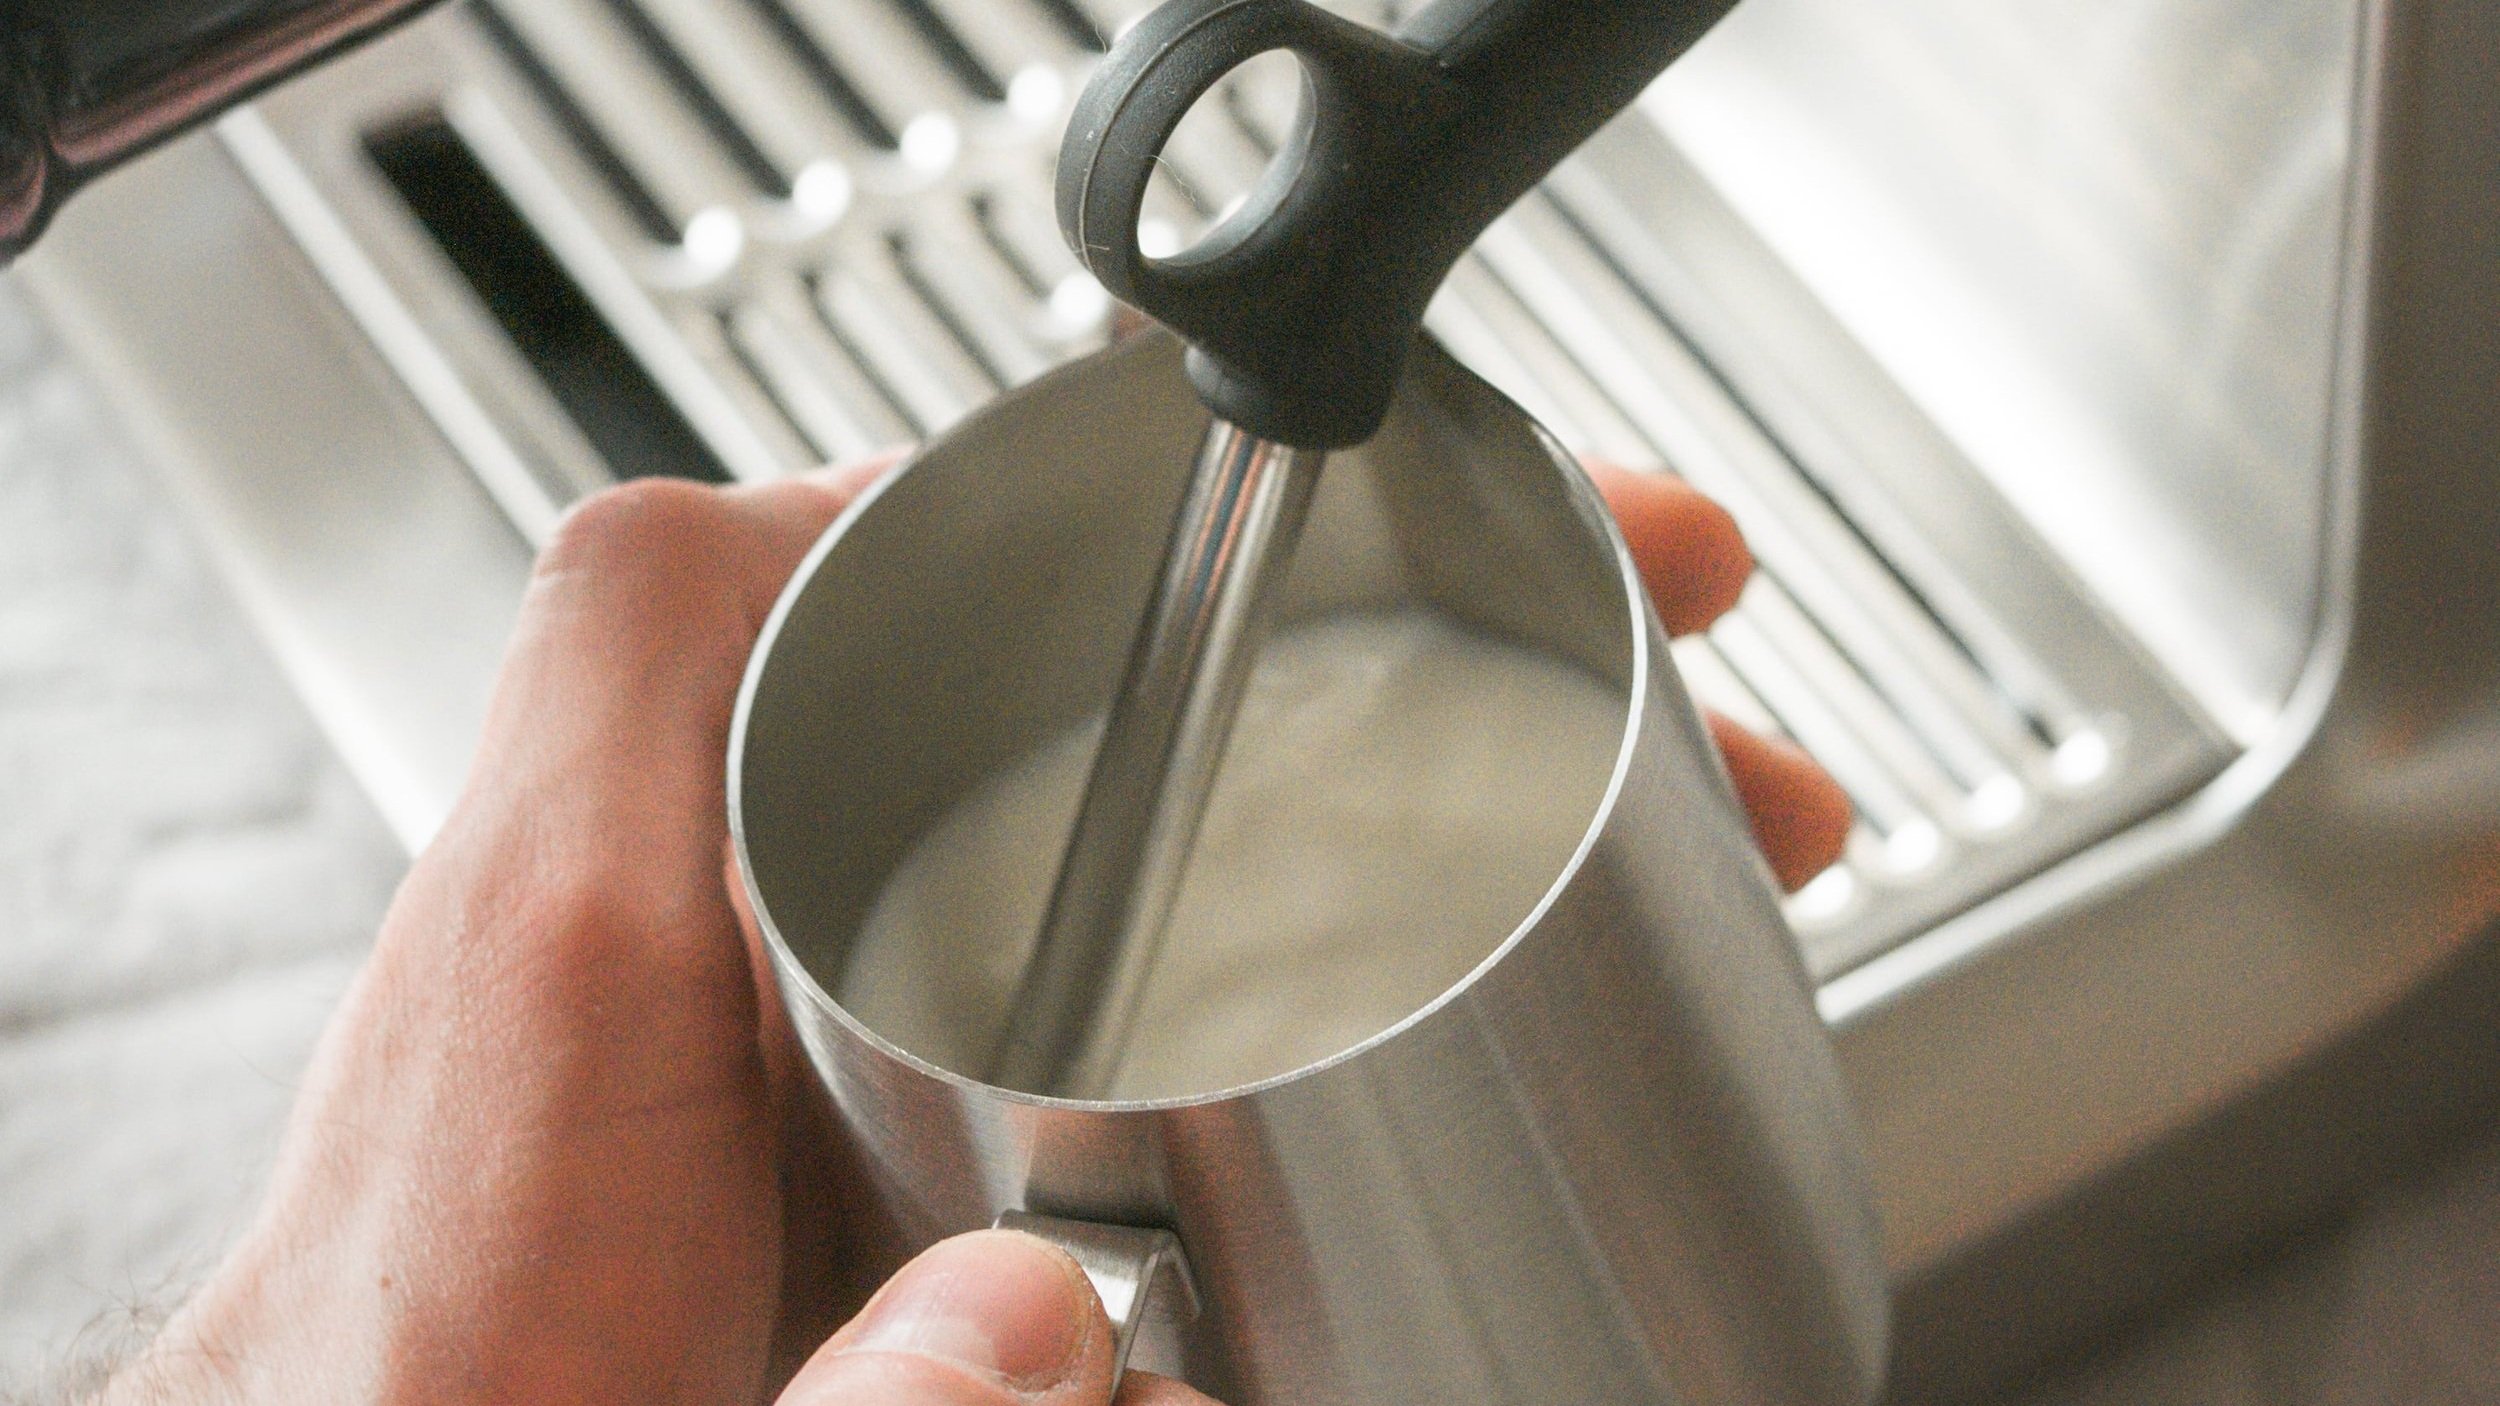
How to Steam Milk on the Breville
Steaming milk at home might seem intimidating at first, but with the right techniques, it can become an enjoyable part of your coffee-making routine. Whether you’re after a silky latte, a frothy cappuccino, or a rich macchiato, mastering milk steaming is essential. The Breville Barista Express is a fantastic machine for achieving barista-level steamed milk in the comfort of your home. In this guide, I’ll walk you through the process, drawing from my personal experience with this machine.
Why Steamed Milk Matters
Steamed milk serves two functions: creating foam (microfoam) and heating the milk. Properly steamed milk has tiny, uniform bubbles that give it a smooth, velvety texture. Not only does this enhance the drink's flavor, but it also improves the overall coffee experience. The rich texture of steamed milk balances the boldness of espresso, resulting in a well-rounded, flavorful drink.
Getting to Know the Breville Barista Express
The Breville Barista Express (also known as the Sage Barista Express in the UK) is a home espresso machine equipped with a professional-grade steam wand. With a bit of practice, you can create beautifully steamed milk for café-quality drinks. The steam wand is user-friendly, powerful, and versatile, allowing you to customize the milk texture according to your preferences.

Essential Equipment
To steam milk on the Breville Barista Express, you will need:
- The Breville Barista Express machine with its built-in steam wand.
- Cold milk (whole milk is best for creamy foam, though oat or almond milk works well too).
- A stainless steel milk jug (this helps maintain the temperature).
- A thermometer (optional) to monitor milk temperature.
Step 1: Prepare the Machine
Before you start, make sure your Breville is turned on and fully heated. The machine will indicate when it’s ready by illuminating the steam function light. I usually wait a few minutes after turning it on to ensure it reaches the ideal temperature.
Purge the steam wand to clear out any condensed water. Turn the steam knob briefly to release steam, then turn it off. This step ensures that only steam enters the milk, preventing it from becoming watered down.
Step 2: Prepare the Milk
Fill the milk jug about one-third full with cold milk. Using cold milk gives you more time to create the perfect microfoam before the milk overheats. For a creamy texture, whole milk works best. If using plant-based alternatives, look for barista versions of oat or almond milk, as they’re designed to froth better due to their higher fat content.
Step 3: Position the Steam Wand
Proper positioning of the steam wand is key to getting the right texture. Insert the wand into the milk jug just below the surface at a 15- to 20-degree angle. The tip of the steam wand should be slightly submerged, allowing air to be drawn in and creating foam.
Tilt the jug slightly to create a vortex effect in the milk. This swirling motion helps eliminate larger bubbles, creating a smooth microfoam. Position the steam wand near the edge of the jug to help with this motion.
Step 4: Start Steaming
Turn the steam knob to start steaming. You’ll hear a hissing sound as air is incorporated into the milk. For the first 5-10 seconds, keep the steam wand near the surface of the milk to create foam by introducing air. Lower the jug slightly if needed to maintain the right air intake.
After introducing enough air, submerge the wand slightly deeper into the milk. This step allows the steam to heat the milk and refine the foam. Focus on keeping the milk in a smooth, swirling motion to break down the bubbles and achieve a velvety texture.
Steaming should take around 20-30 seconds. If you’re using a thermometer, aim to heat the milk to around 150°F (65°C). If you don’t have a thermometer, use touch: when the jug becomes too hot to hold comfortably for more than a few seconds, the milk is ready.

Step 5: Finishing Up
Once the milk reaches the right temperature and texture, turn off the steam. Immediately wipe down the steam wand with a damp cloth to remove any milk residue. Don’t forget to purge the wand again briefly to clear out any remaining milk trapped inside.
Give the milk jug a gentle tap on the counter to pop any larger bubbles, then swirl the milk to integrate the foam. If done correctly, the milk will have a glossy sheen, indicating perfectly crafted microfoam.
Step 6: Pouring the Milk
Now it’s time to pour the milk into your espresso. Start by pouring slowly, keeping the jug close to the cup. As the cup fills, raise the jug slightly and pour more quickly to help the foam settle on top. If you’re feeling adventurous, try your hand at some basic latte art to add a personal touch to your drink.
Troubleshooting Common Issues
Here are some common issues and tips to resolve them:
- Milk isn’t frothing properly: Check the type of milk and the steam wand’s position. Whole milk or barista plant-based milk froths best. Keep the steam wand just below the surface of the milk for proper aeration.
- Large bubbles in the foam: This usually happens when too much air is introduced too quickly. Keep the steam wand tip just below the milk’s surface and introduce air more gradually.
- Milk overheats: Use a thermometer or go by touch to avoid overheating. Keep the milk within the 150°F (65°C) range to maintain flavor and texture.
Final Thoughts
Steaming milk on the Breville Barista Express is a skill that, once mastered, adds a professional touch to your home coffee routine. By focusing on controlling the amount of air and heat introduced into the milk, you can consistently achieve smooth, glossy microfoam. With practice, you’ll be able to enjoy barista-quality drinks at home and even impress friends with your perfectly steamed milk.
